
1.DREAMCen Setup and Upgrade
- Download the latest Server release from our FTP server : DREAMCenX.XXXX_UpdateServerSetup.exe
- Run the Server setup file on the Server machine
- Download the latest Client release from our FTP server : DREAMCenX.XXXX_ClientSetup.exe
- Run the Client setup file ON EACH client PC
1.1.Running the Setup
Select the language to use during the installation.
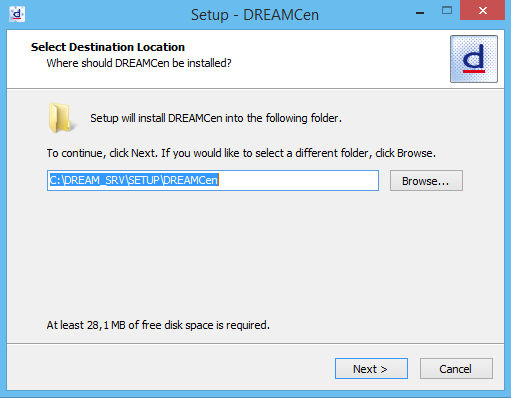
Select the destination or accept the default value and click on the Next button.

Click on the Install button to continue
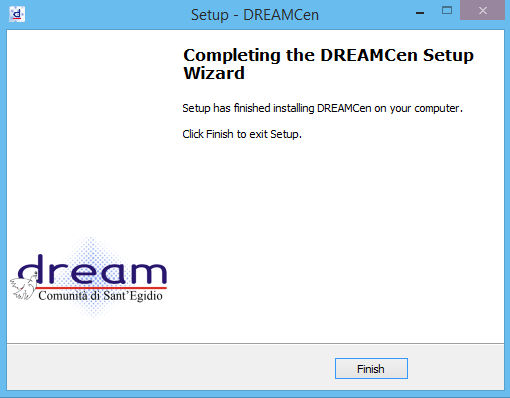
Finish !
1.2.Configuring the connection to the database
The first time you start the software after the first installation you will be asked to create the configuration file called “option file”
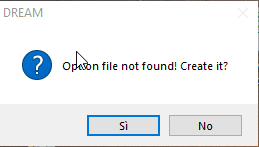
Click on “Yes”.
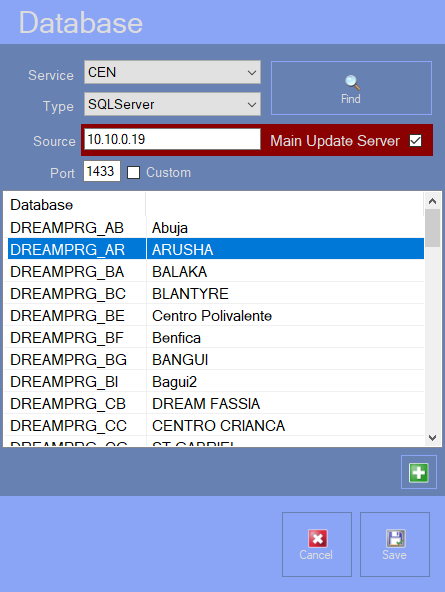
In the following window form enter “CEN” as Service, MSSQL as Type (For SQL Server engine database) and write the ip address of the server in the “Source” field.
Be sure your server use a STATIC IP ADDRESS. (If use DHCP you can use the server name in the Source field, but however a dhcp address on a server is not a good choice).
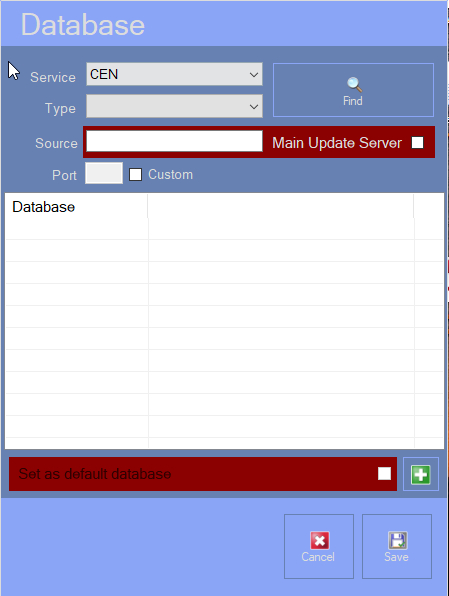
Check also “Main Update Server” checkbox to specify that the server is used also as a repository to update the software and finally click on “Find” button.
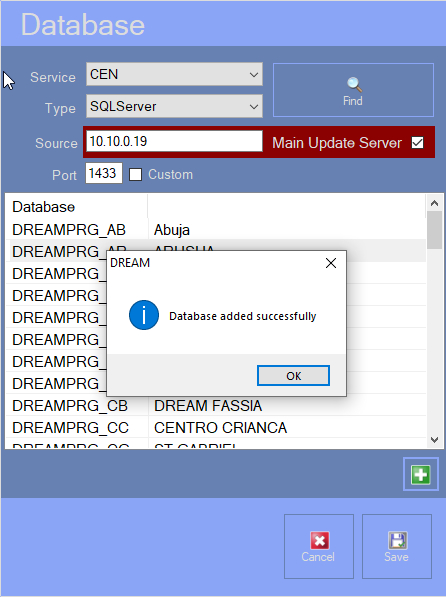
Select the right database from the list (commonly only one database will appear in the list…) and click on the green plus button and you will prompted with the following message.
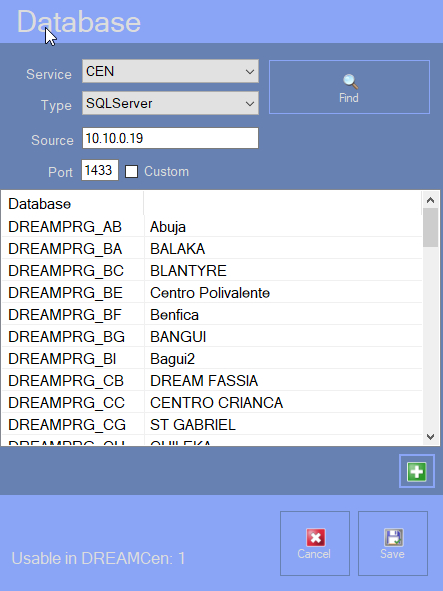
Finally click on “Save” button. You will be asked to connect to the newly chosen database.

Select the database and click on the “Connect” button.
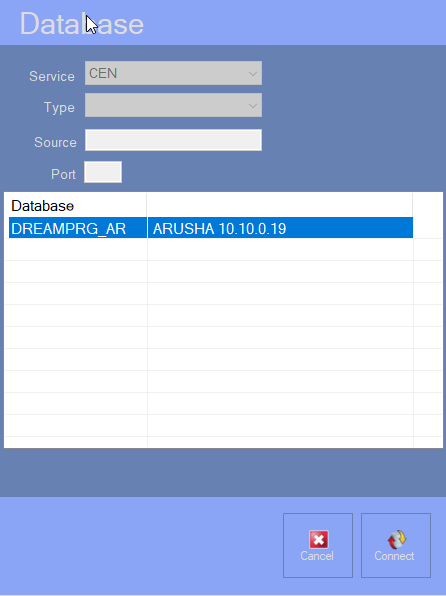
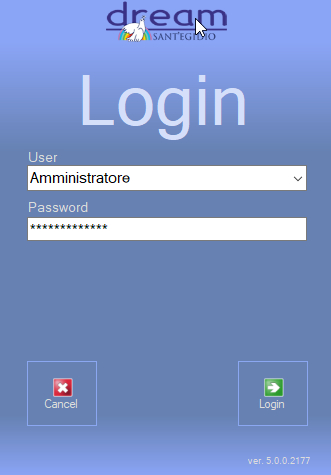
you will be directed to the login form
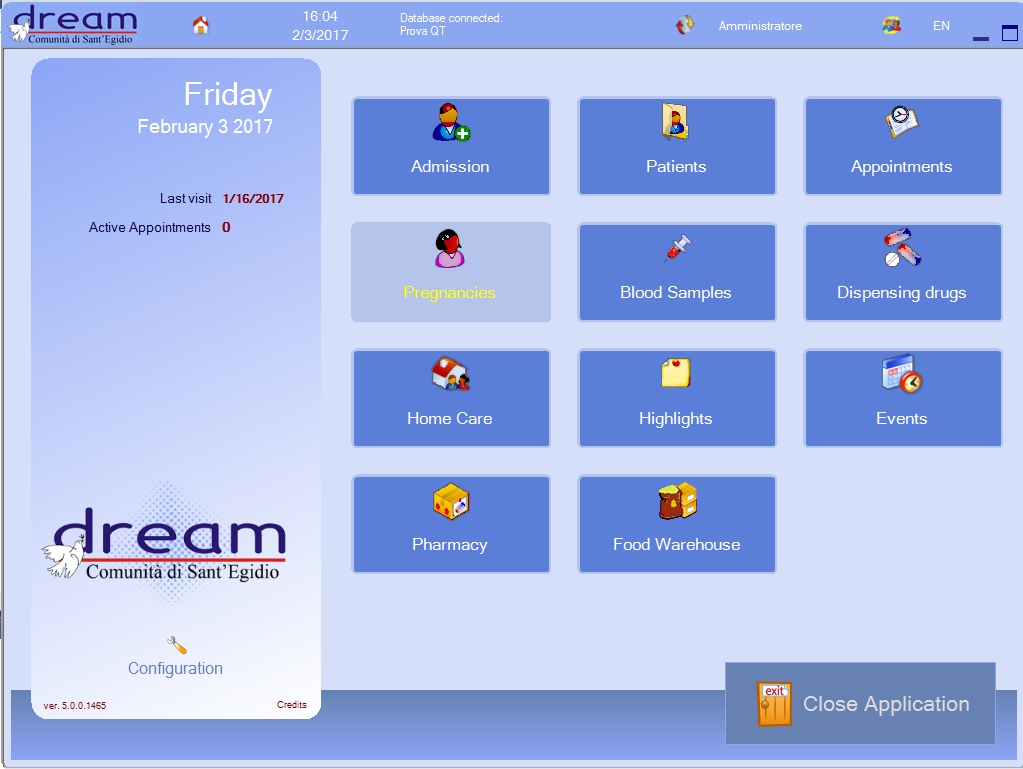
2.User management
[1] . From HOME go to CONFIGURATION
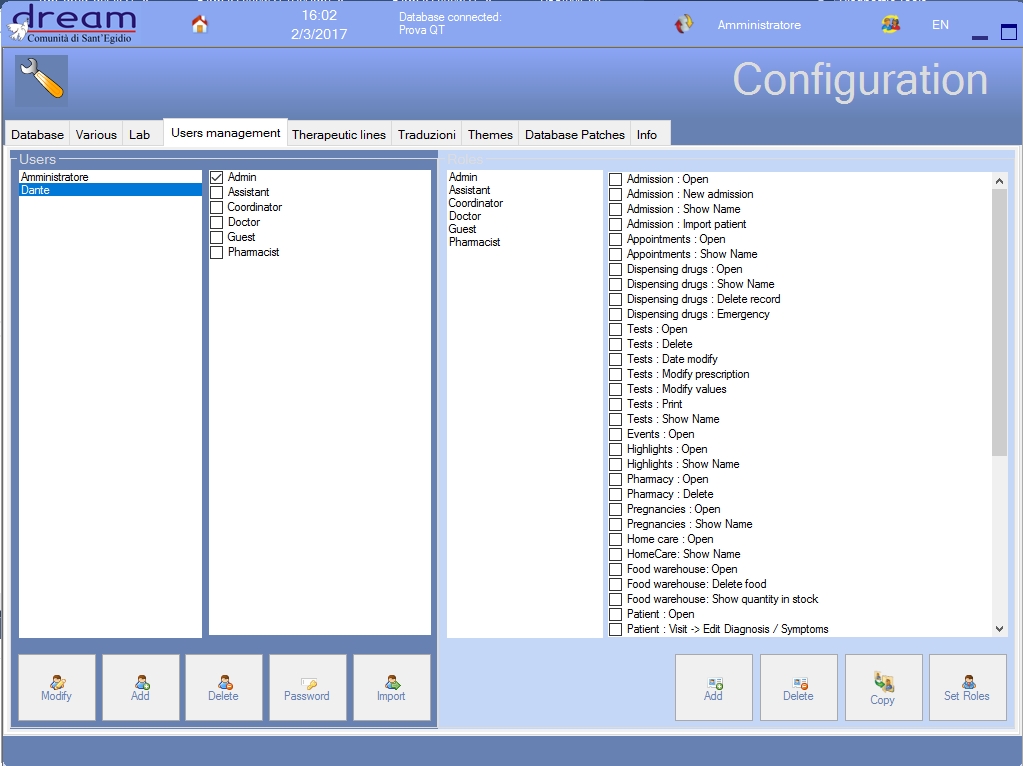
[2] . Choose User Management
[3] . Click MODIFY button
[4] . Retype the correct, current password and add the needed information
FIELDS: NAME – SURNAME – CONTACT INFO
REQUIRED ONLY FOR USERS AUTHORIZED TO PRESCRIBE BLOOD EXAMS
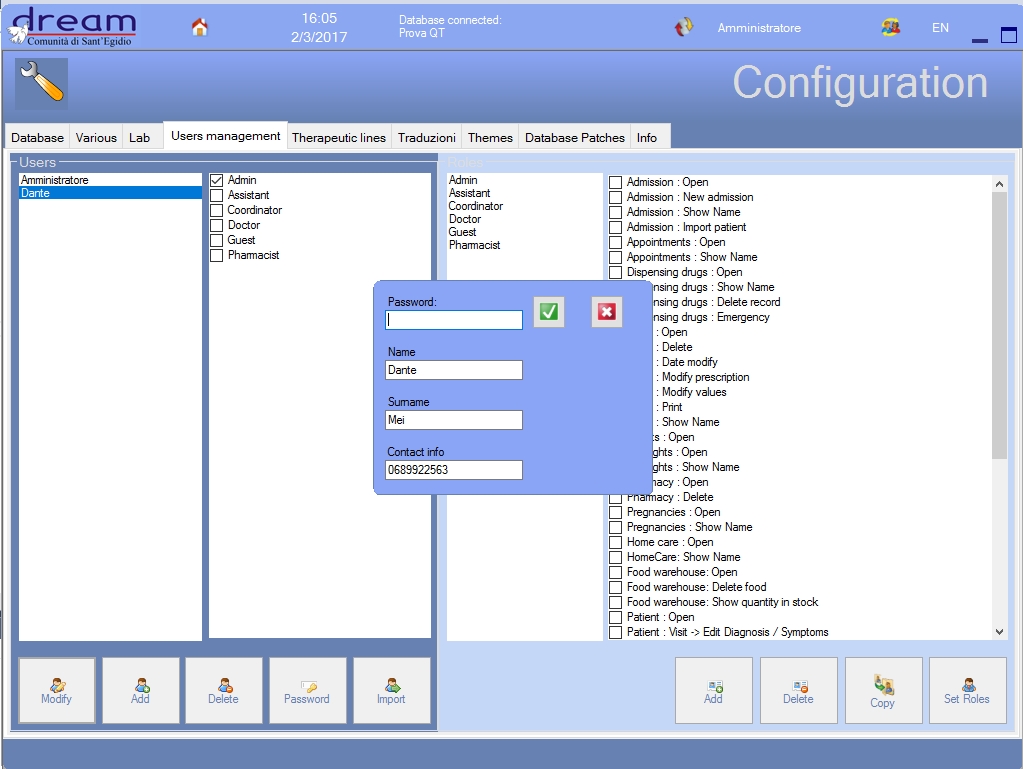
Click the green button to accept changes, red to cancel and close the window.